Meta Description: Is your impact sprinkler not rotating or spraying unevenly? Discover expert solutions for common problems, step-by-step maintenance guides, and professional tips for pressure, spacing, and installation.
Slug: impact-sprinkler-guide-troubleshooting-maintenance
Introduction
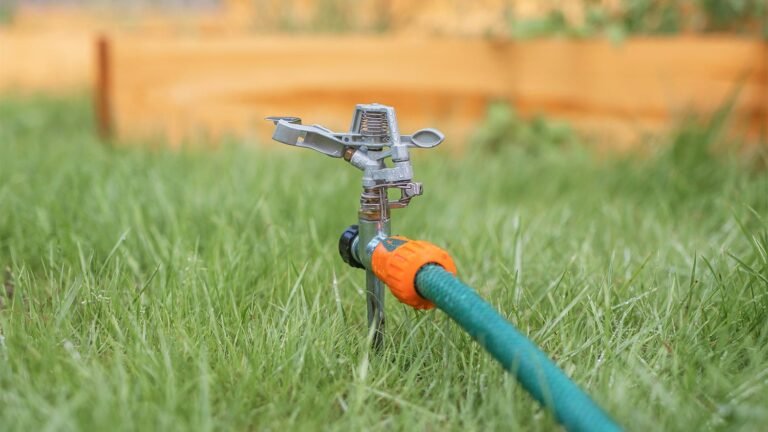
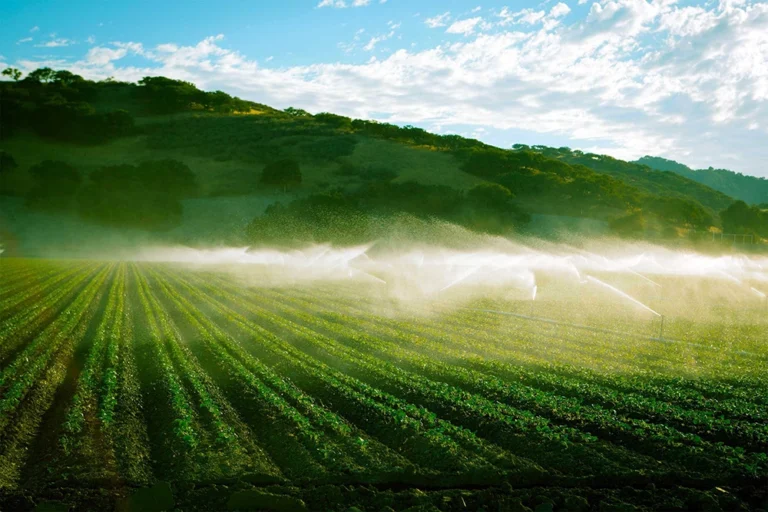
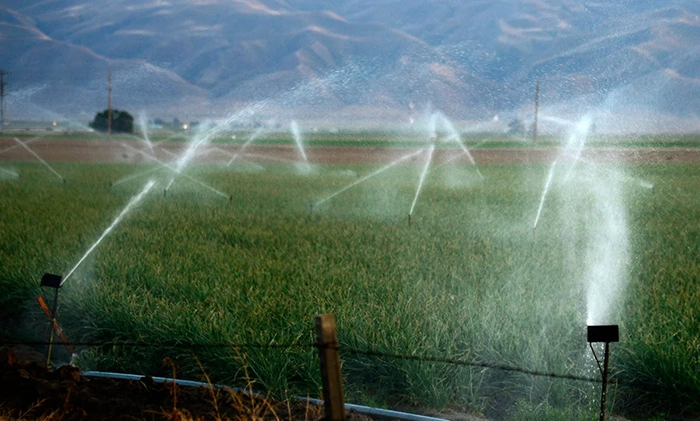
The rhythmic ch-ch-ch of an impact sprinkler, often called a “water walker” or “pivot” sprinkler, is the sound of a healthy lawn or farm. Known for their durability and ability to cover large areas, impact sprinklers are a favorite for residential gardens and agricultural operations alike. However, when they malfunction—failing to rotate, spraying a mist, or leaving dry spots—they can waste water and harm your plants.
This guide compiles the most frequently asked questions about impact sprinklers into one comprehensive resource. We will walk you through how they work, how to fix common mechanical failures, and how to ensure your irrigation system is running at peak efficiency using expert advice from university agricultural extensions and industry manufacturers.
Section 1: How Does an Impact Sprinkler Work?
Understanding the basic mechanics is the first step in troubleshooting. Unlike gear-driven rotors, impact sprinklers use a simple physical principle.
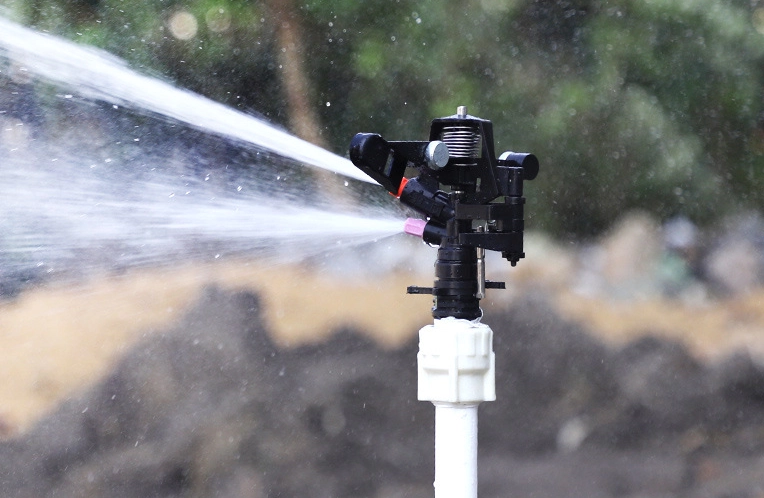
When water jets out of the nozzle, it strikes a spring-loaded arm (the “impact arm” or “drive arm”). The force of the water pushes the arm away from the stream. The arm is then pulled back by a spring, striking the sprinkler body and causing it to rotate a few degrees. This cycle repeats rapidly, creating the signature hammering sound and allowing the sprinkler to cover a full or partial circle .
Section 2: Troubleshooting Common Problems
Here are the most common issues users face, ranked by frequency, and how to solve them.
2.1 Why is My Impact Sprinkler Not Rotating?
This is the most common complaint. If the sprinkler is spraying water but stuck in one spot, the cause is usually one of three things:
Low Water Pressure
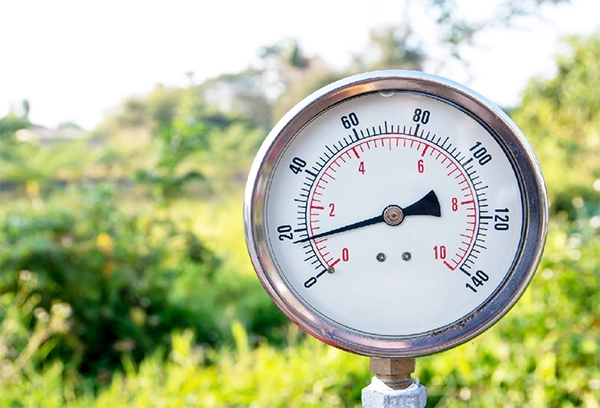
Impact sprinklers require a specific pressure range to operate the mechanical arm. According to experts at the UC Nursery and Floriculture Alliance, the most common mistake in irrigation is operating at too low a pressure. Most standard impact sprinklers need 30 to 60 PSI to function correctly . If the pressure drops too low, the arm won’t have the force to push back and rotate the head.
Check: Use a pressure gauge at the nozzle.
Solution: Ensure you aren’t running too many zones at once, or check for leaks in the mainline that could be dropping pressure .
Dirty or Stuck Nozzle
Mineral deposits or dirt can clog the nozzle. If the water stream is uneven or weak, it may not hit the arm with enough force.
Solution: Remove the nozzle and soak it in vinegar to dissolve mineral deposits. Use a small brush (not metal wire) to gently clean the orifice .
Damaged Drive Arm or Spring
If the arm hangs loosely or doesn’t spring back, the spring might be broken, or the arm pivot could be corroded .
Solution: Replace the arm spring. For brass models, ensure the arm isn’t bent out of shape. A good rule of thumb is to bend it so that when the arm is at rest, the “X-point” of the vane is just to the left of the nozzle opening .
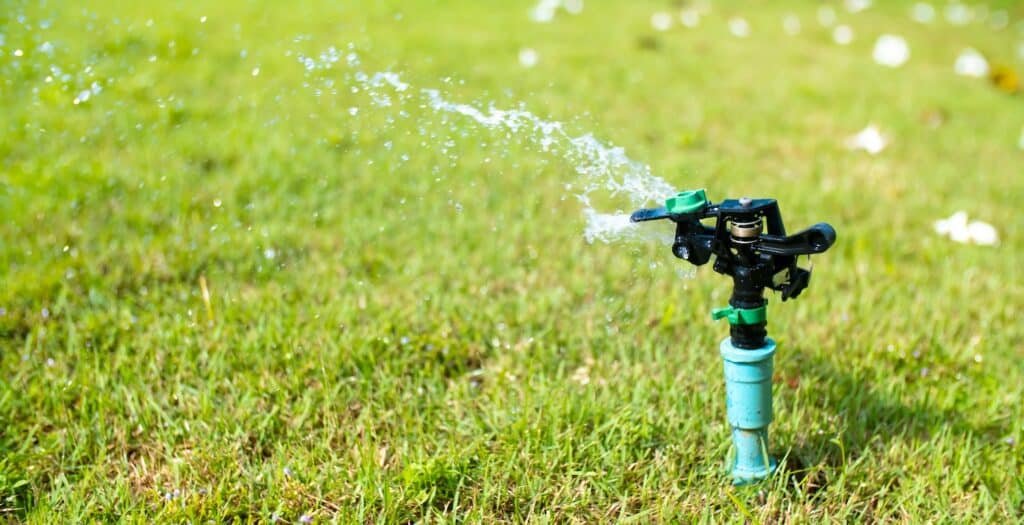
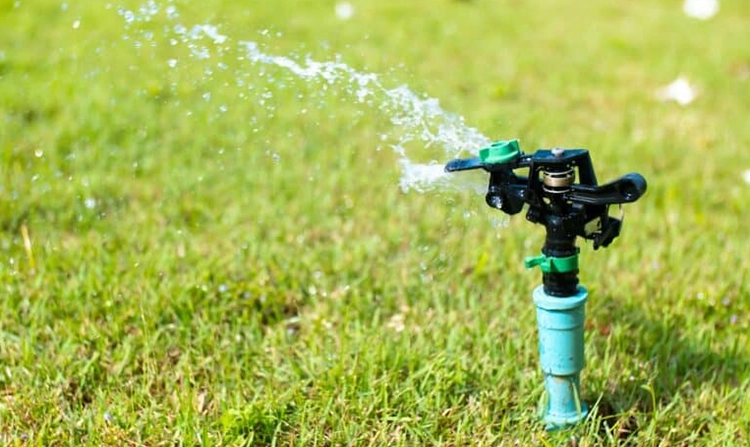
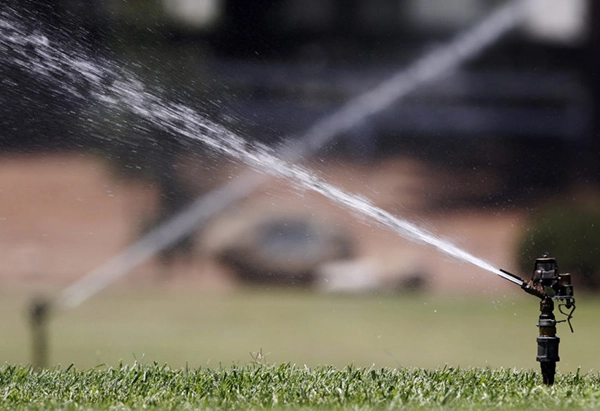
2.2 Why is My Sprinkler Misting or Fogging?
Water should come out in distinct, heavy droplets. If you see a fine mist or fog, your water pressure is too high .
The Problem: High pressure atomizes the water. This is bad because mist is easily blown away by wind and evaporates before hitting the ground, wasting water.
The Solution: Install a pressure regulator downstream of the valve to bring the pressure down to the sprinkler’s recommended operating range (e.g., 50 PSI) .
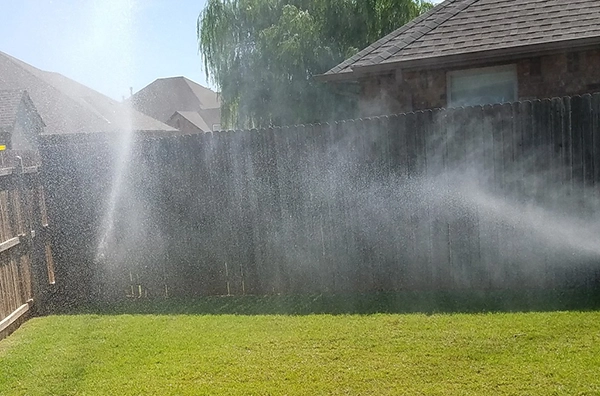
2.3 Why is the Spray Pattern Uneven or the Radius Short?
If the sprinkler is rotating but water isn’t reaching the outer edges of the zone:
Wrong Nozzle Size
Ensure you are using the correct nozzle for your desired radius. Refer to the manufacturer’s performance chart (like the one for the Toro Impact 53721, which shows radius changes based on nozzle color and PSI) .
Obstructions or Misalignment
Check if the grass has grown over the head, or if debris is blocking the stream. For adjustable models, check the “spray reduction screw.” Turning this screw clockwise disrupts the stream to shorten the radius .
Worn Bearings
Over time, the bearing washers in the bearing assembly can wear out, increasing friction and slowing rotation, which can affect distribution.
Solution: Replace the bearing washers. Never use oil or grease on these parts, as it causes the rubber washers to swell and stop rotation .
Section 3: Installation and Layout Optimization
3.1 How Far Apart Should I Space My Sprinklers?
Incorrect spacing leads to dry spots. The golden rule in irrigation is “Head-to-Head” coverage.
This means that water from one sprinkler should reach the adjacent sprinkler. According to the UC Davis nursery guidelines, sprinklers should be spaced at a distance equal to the radius of the sprinkler .
Example: If your sprinkler has a radius of 30 feet, sprinklers should be spaced 30 feet apart.
Layout: An equilateral triangle layout is the most efficient for uniformity, though a square pattern is acceptable for easier layout .
3.2 Installation Tips for Brass and Plastic Sprinklers
Flush the System: Before attaching the head, turn on the water to flush out any dirt or PVC burrs from the pipes. Dirt is the number one killer of sprinkler mechanisms .
Sealant: Use Teflon tape on the threads to prevent leaks. Do not use pipe dope, as it often contains oil that can damage internal seals .
Freeze Protection: In cold climates, install a drain valve or ensure the system can be completely drained to prevent ice from cracking the brass or plastic body .
Section 4: Maintenance Checklist
To keep your system running for years, follow this seasonal maintenance guide, recommended by irrigation specialists .
Monthly (During Season)
Visual Inspection: Watch each head cycle. Note any that don’t rotate or have low throw.
Clean Filters: If your system has screens or filters at the head, clean them of debris.
Check for Leaks: Look for pooling water around the base of the riser, which could indicate a bad seal .
Annual (Start of Season)
Nozzle Cleaning: Remove nozzles and soak in a descaling solution.
Bearing Check: Disassemble the bearing assembly (if applicable) and inspect the washers. Replace if worn .
Check Trip Mechanism: For part-circle models, check the trip collars and springs for lime deposits. Remove the collars by hand—using pliers can strip them and ruin the tension .
Winterization: In freezing areas, remove sprinkler heads and store them indoors to prevent freeze damage .
Section 5: When to Repair vs. Replace
Repair: If the problem is a broken spring, a clogged nozzle, or worn washers, repair is cheap and easy .
Replace: If the body is cracked (common in plastic models), the bearing nipple is severely damaged, or the sprinkler is an old model with no available replacement parts, it’s time for a new unit .
Pro Tip: Do not mix different brands or models of sprinklers in the same irrigation zone. They will have different flow rates and radii, leading to severe over-watering and under-watering in the same area . If you need to replace one, plan to replace them all in that zone eventually.
Summary
A well-maintained impact sprinkler is a marvel of engineering that can provide decades of reliable service. By understanding the critical role of water pressure (30-60 PSI) , maintaining head-to-head spacing , and keeping the drive mechanism clean and free of oil , you can ensure a lush, green landscape while conserving this precious resource.