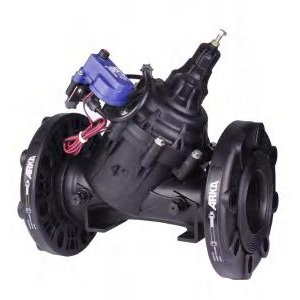
How to Wire Solenoid Valves to an Irrigation Controller?
Wiring solenoid valves to your irrigation controller is a simple DIY task. Follow this step-by-step guide for a professional, reliable connection.
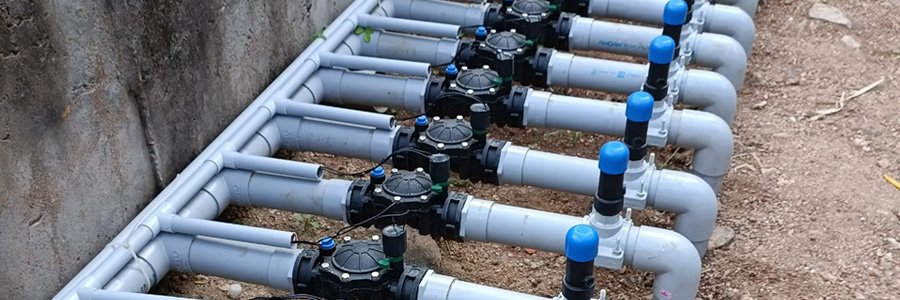
Steps for Wiring Solenoid Valves: 1.Safety First: Always turn off the power to the irrigation controller before wiring. 2.Identify Wires: Locate the common terminal (COM) and the zone terminals (1, 2, 3, etc.) inside the controller. 3.Run Cable: Use a multi-strand direct burial cable from the controller to your valve manifold. 4.Make Connections: Connect one wire from every solenoid valve to the single common wire running back to the COM terminal. Connect the remaining wire from each solenoid to a separate zone wire. 5.Terminate at Controller: Connect the main common wire to the COM terminal and each zone wire to its corresponding numbered terminal. 6.Weatherproof: Seal all outdoor splices with waterproof connectors to prevent corrosion. 7.Test: Restore power and run a manual test of each zone from the controller.
By correctly connecting the common and zone wires, you ensure your irrigation system operates automatically and efficiently.
Ready to Take the First Step Toward Collaboration?
Let’s grow a sustainable future together! We’re excited to partner with farmers, businesses, and communities to drive innovation and success in agriculture.